Quick Start
Deploy a React application with Google OAuth to your AWS account.
Prerequisites: Node.js 20 + AWS credentials
1. Install Nar
Download the Nar app from nar.narambu.com/nar and install it. The desktop app is built on VS Code and includes a built-in editor, terminal, and a full UX control panel for managing deployments.
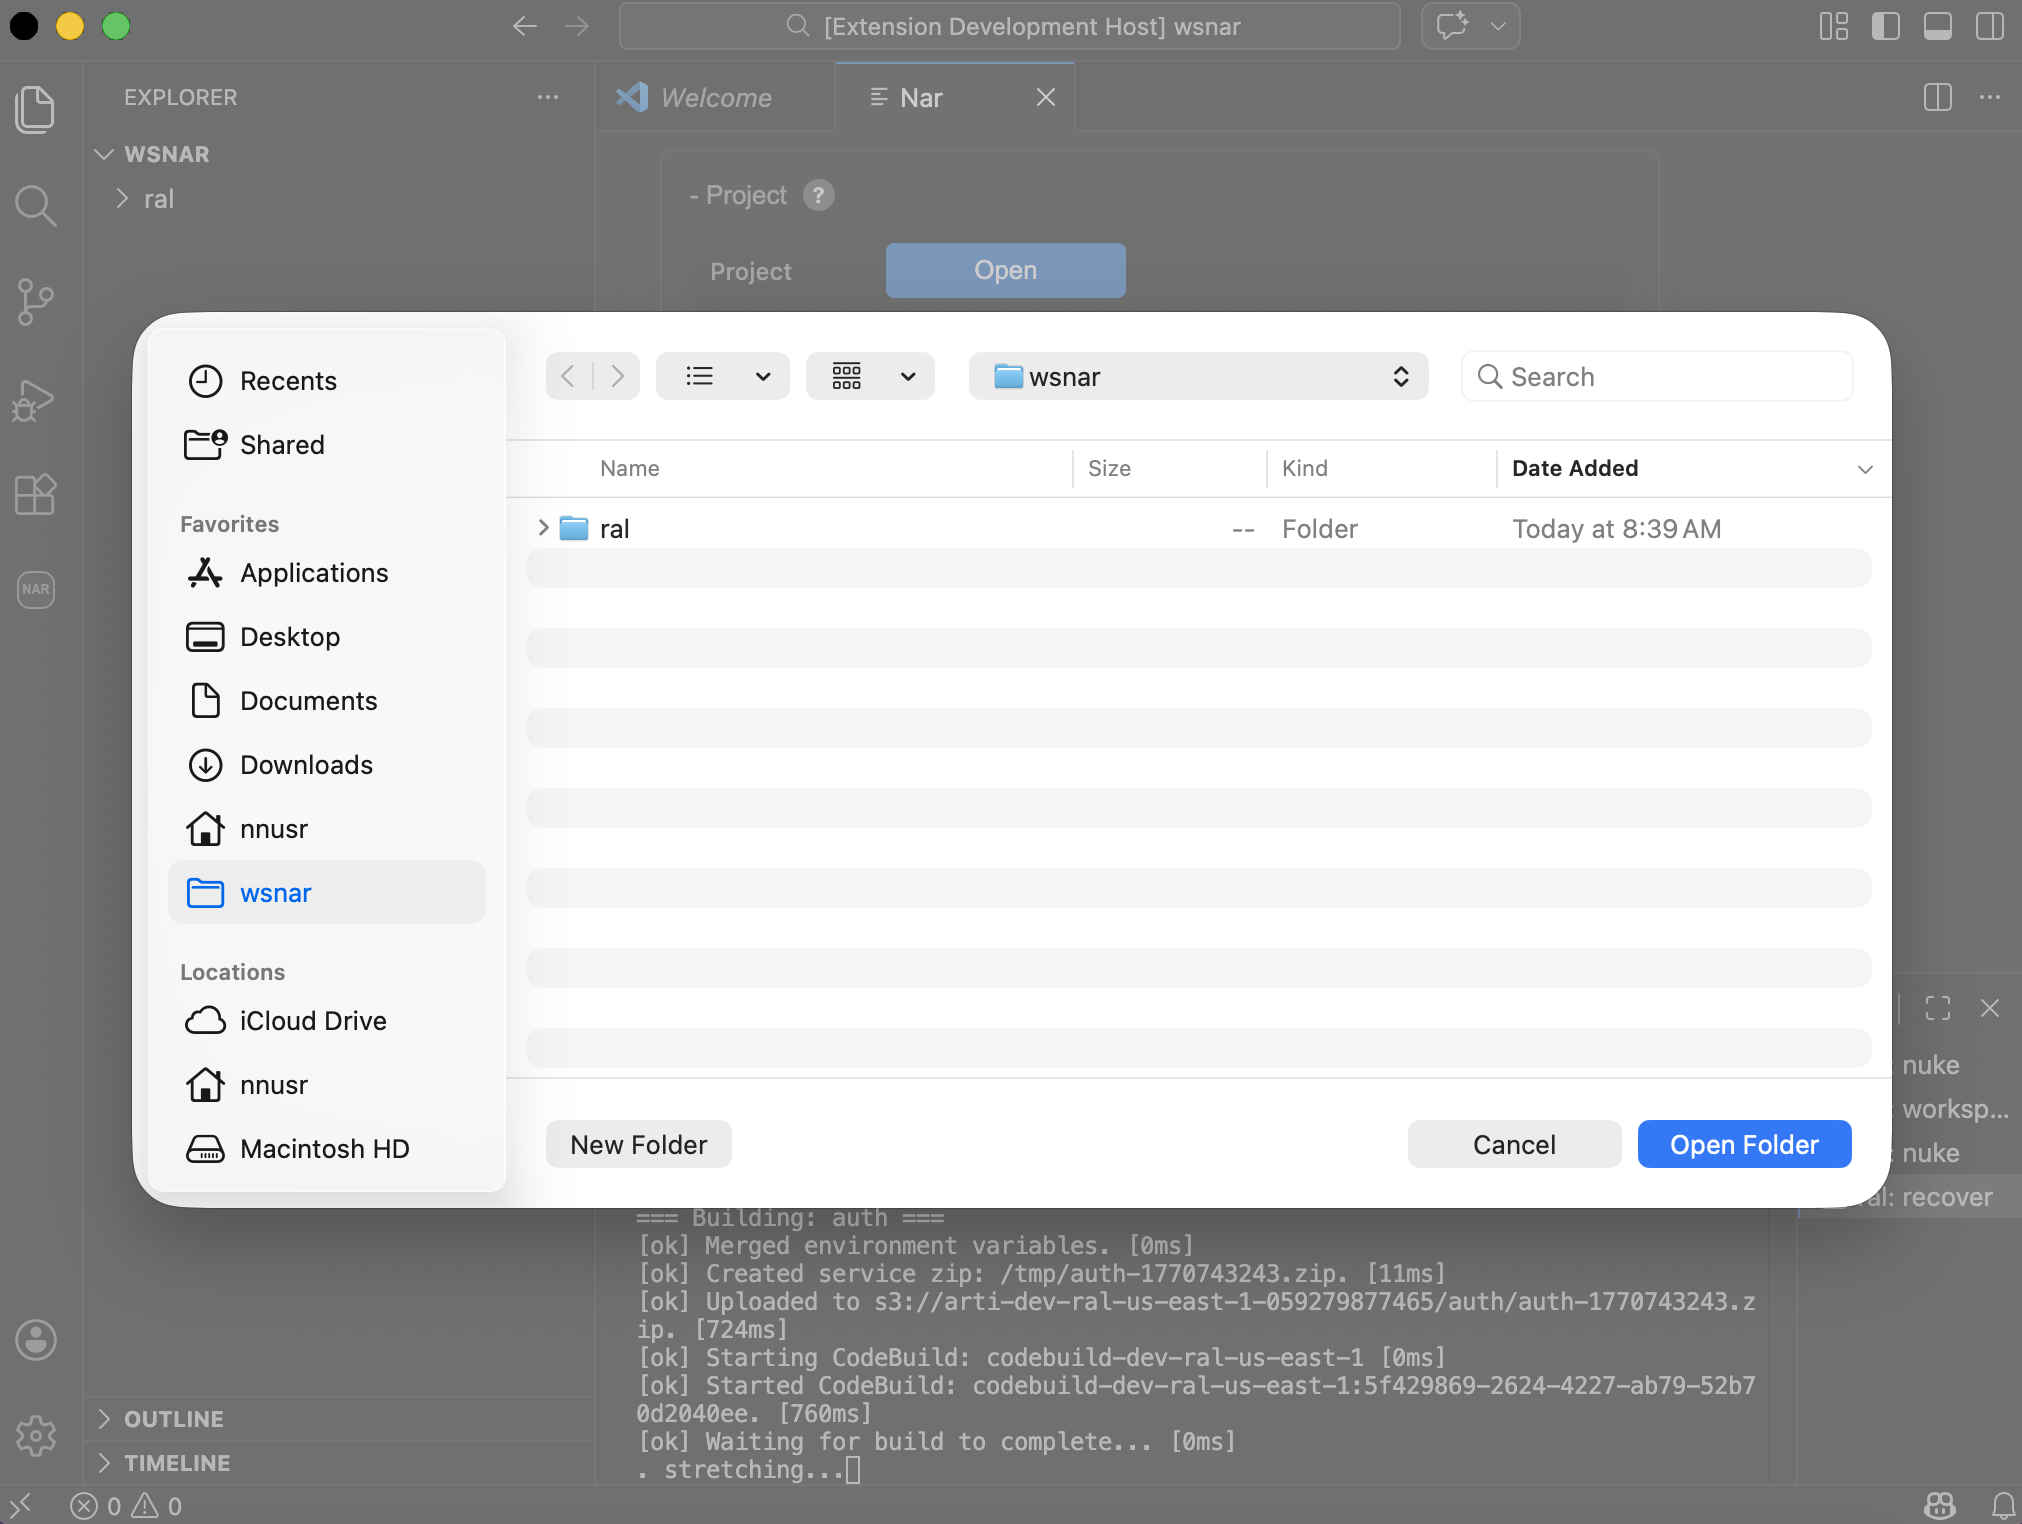
2. Open a Workspace
Launch Nar, click Open, and select an empty folder. This becomes your workspace — where your project code and configuration live.
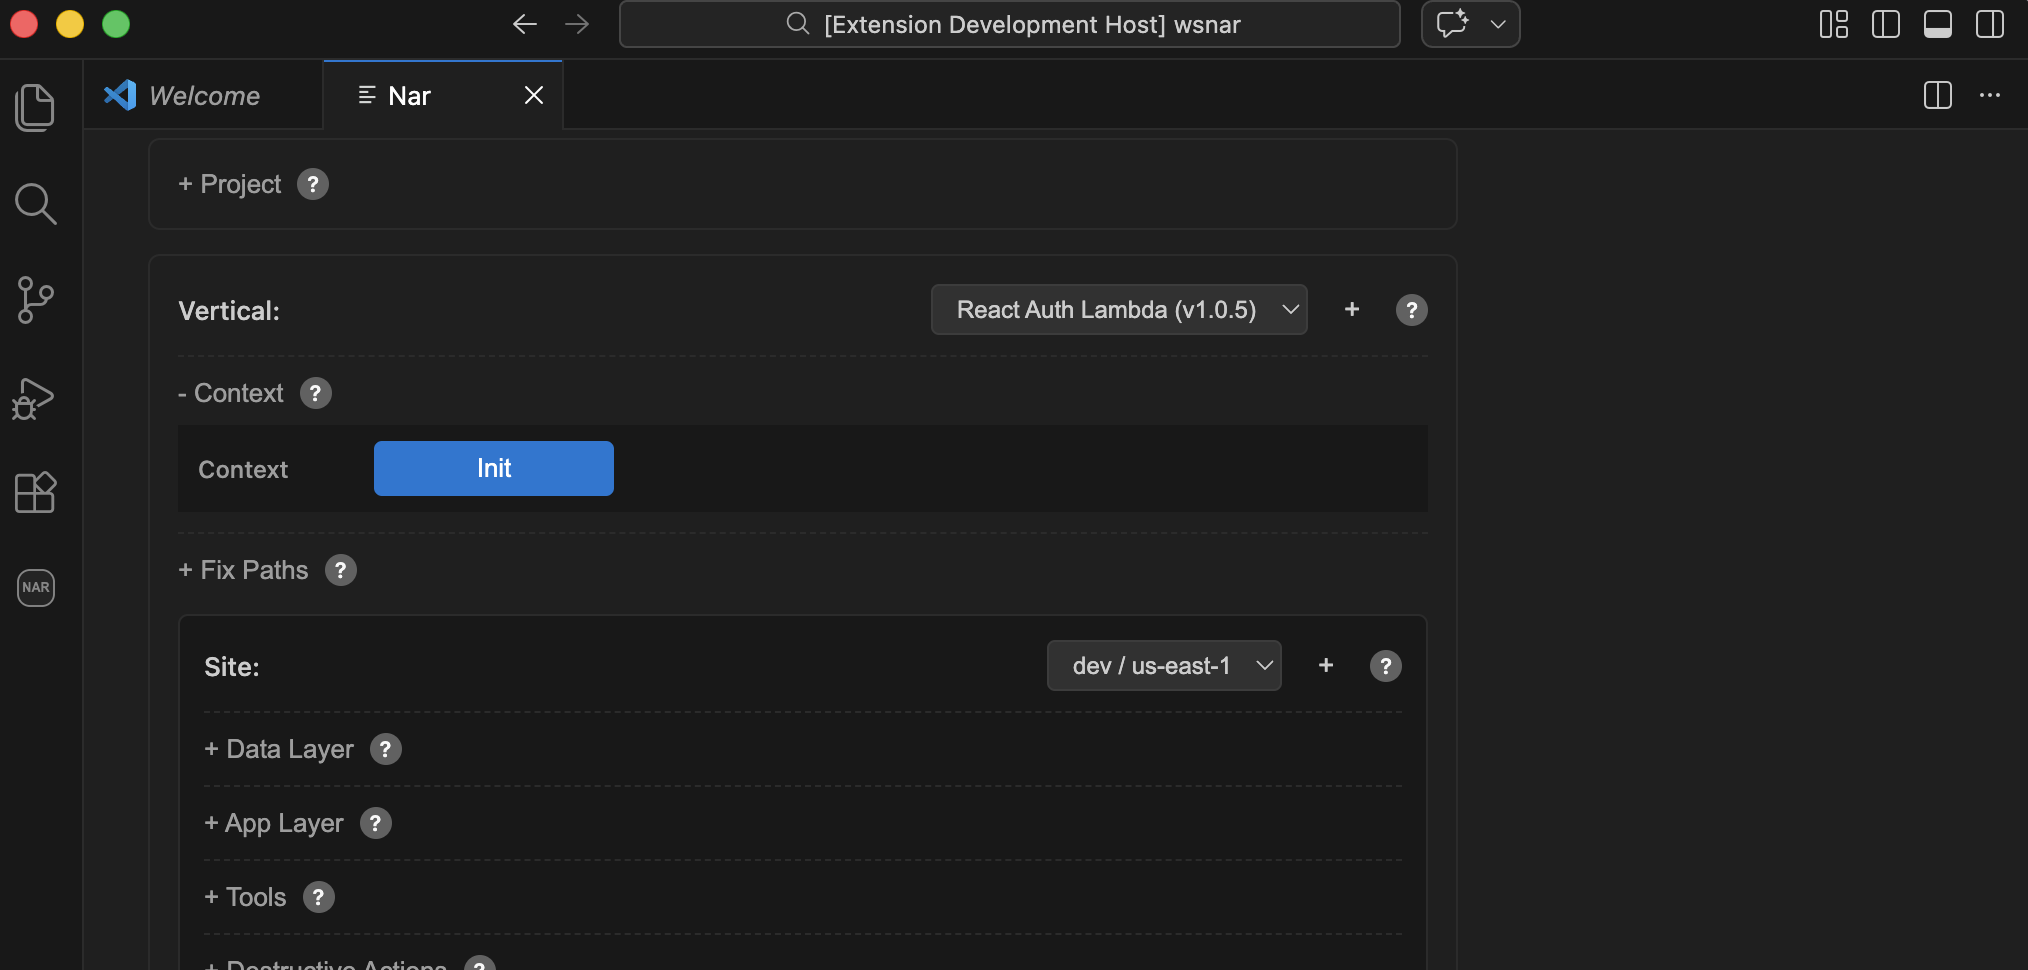
3. Select a Vertical
In the Vertical dropdown, select React Auth Lambda VPC. Nar unpacks the launcher UI and services into your workspace.
4. Initialize
Expand Context, select a region (e.g., us-east-1), and click Init. Answer Y to prompts. This creates a deploy role and state storage in your AWS account.
5. Deploy Data Layer
Confirm dev appears in the Site dropdown. Expand Data Layer and click Setup. Answer Y to prompts.
6. Deploy App Layer
Expand App Layer and click Setup. Answer Y to prompts. This provisions your backend services, frontend CDN, and build pipeline.
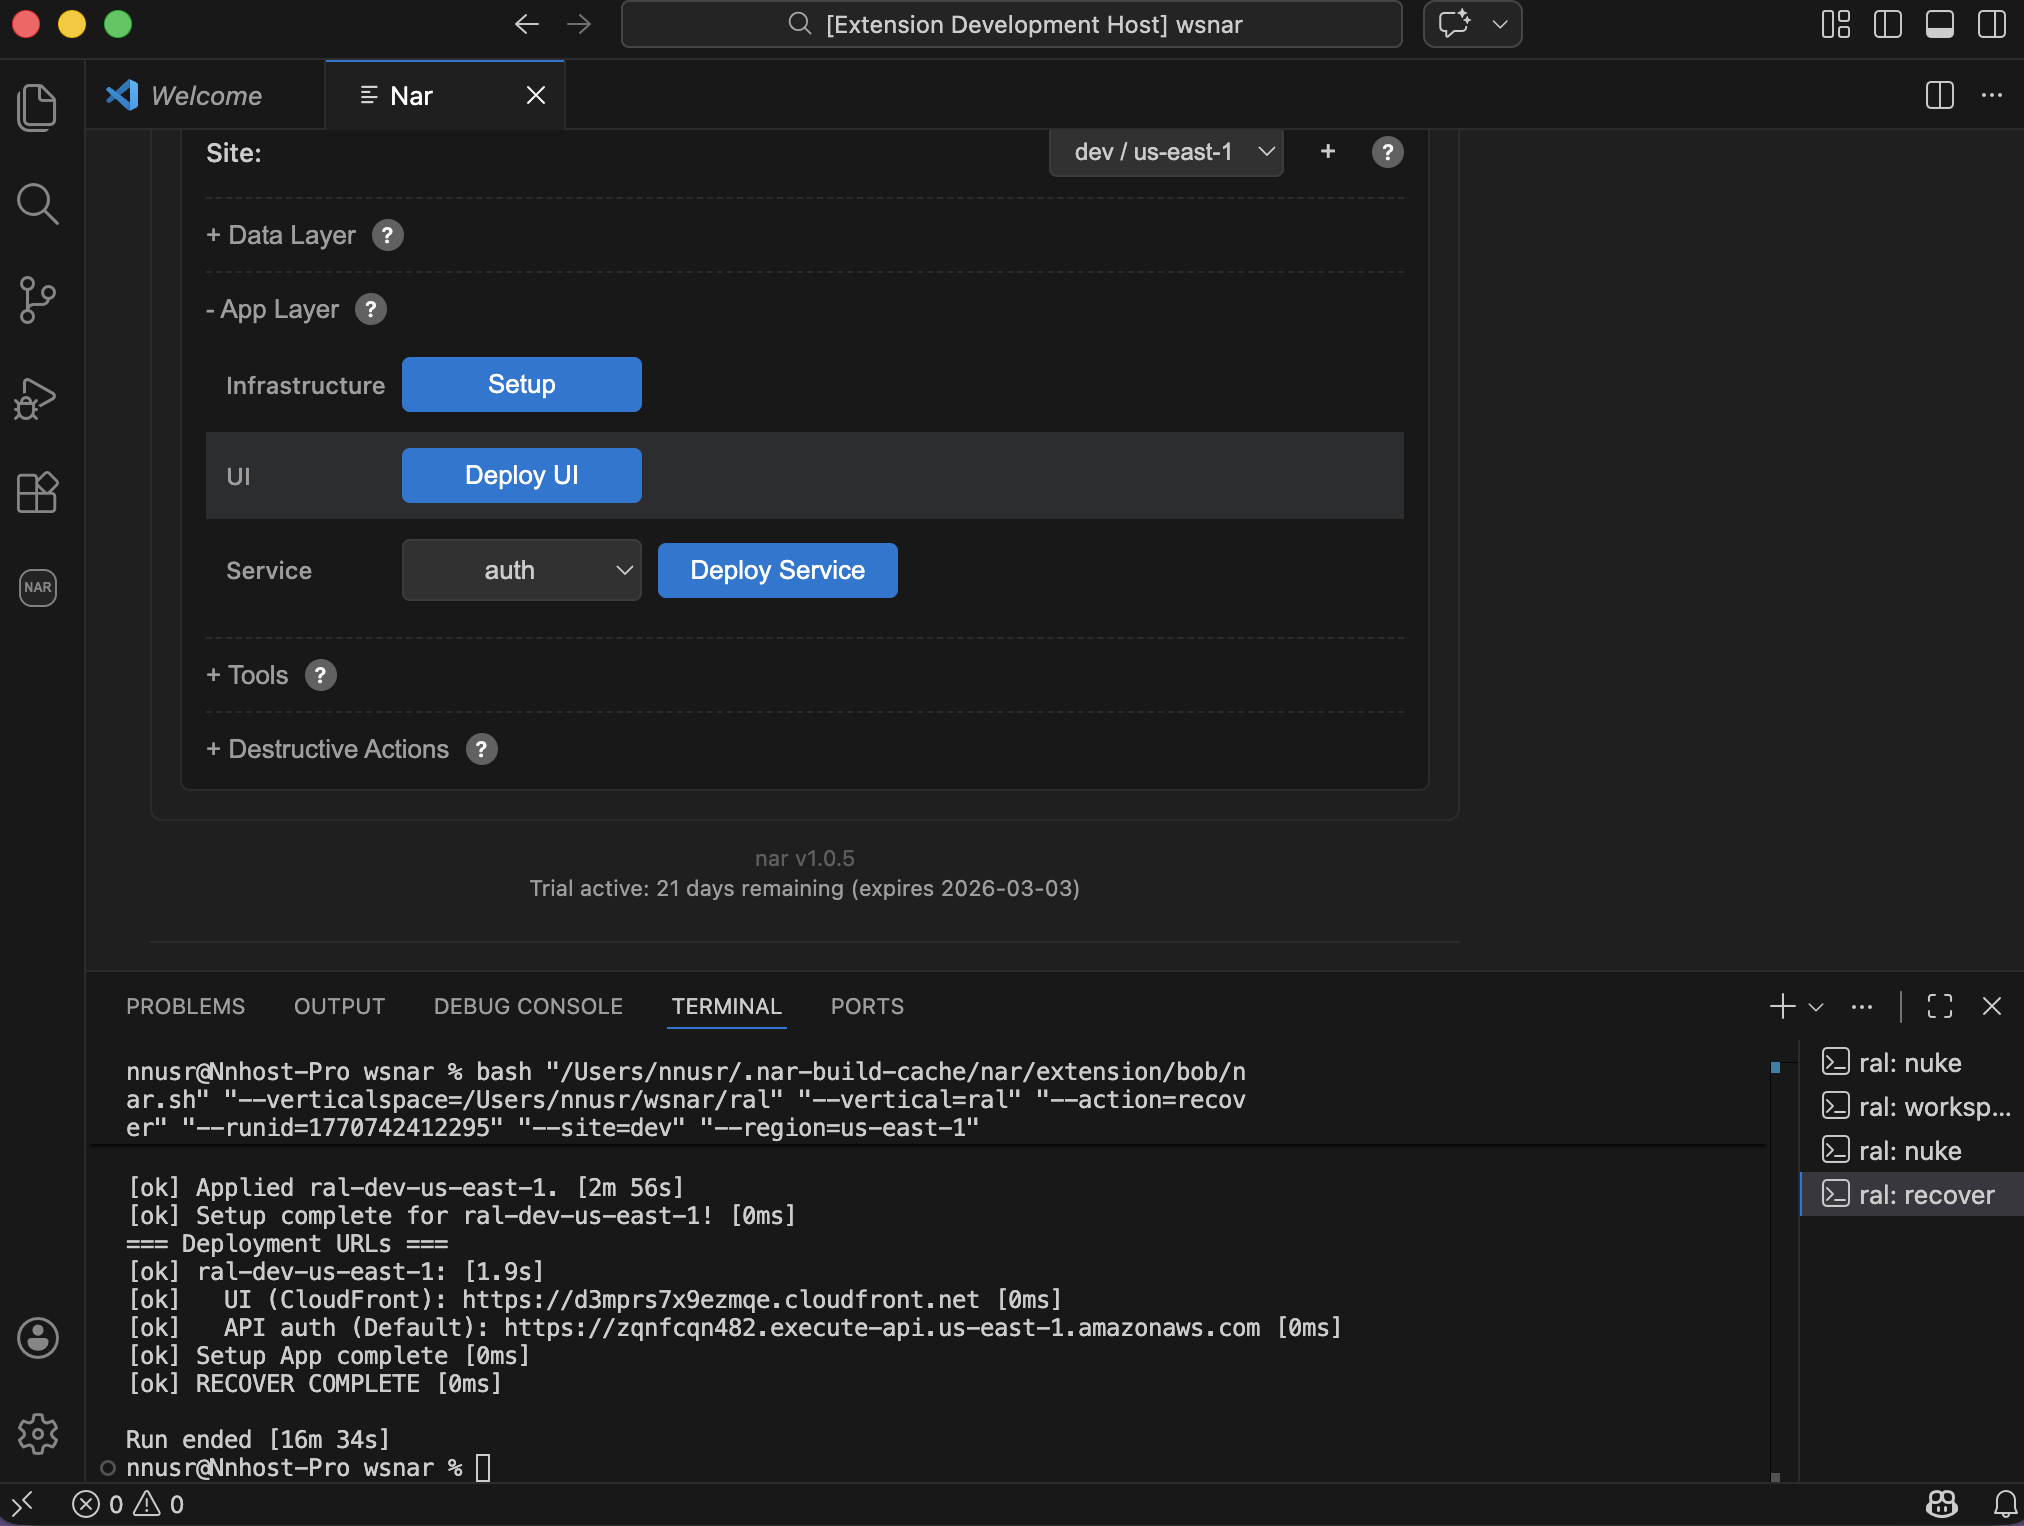
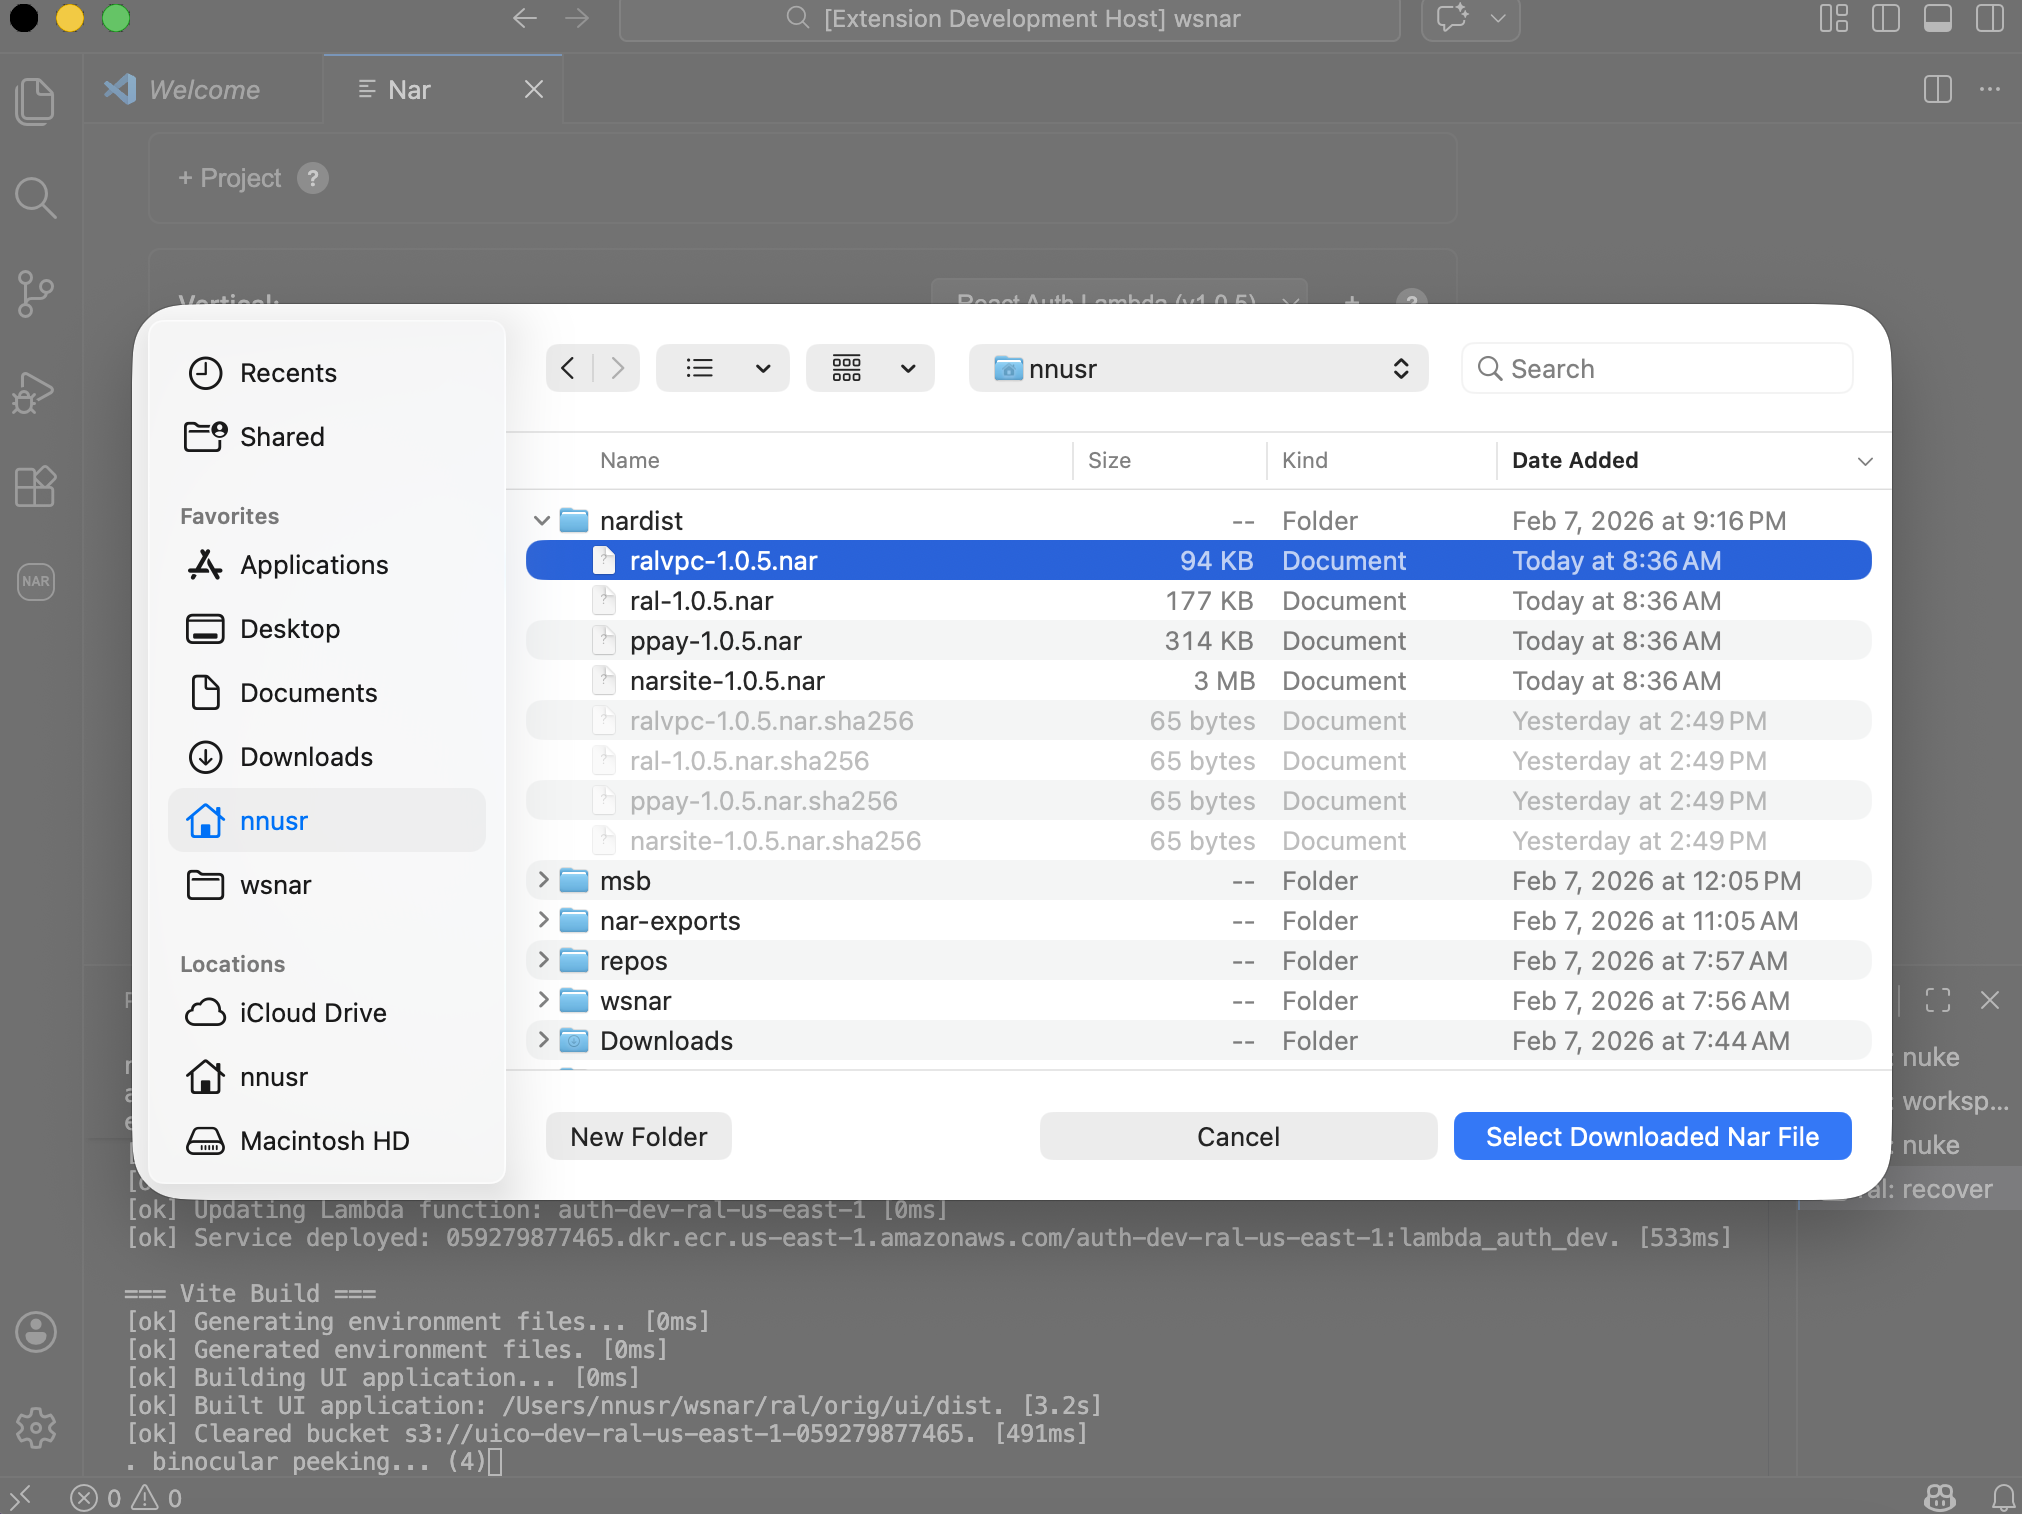
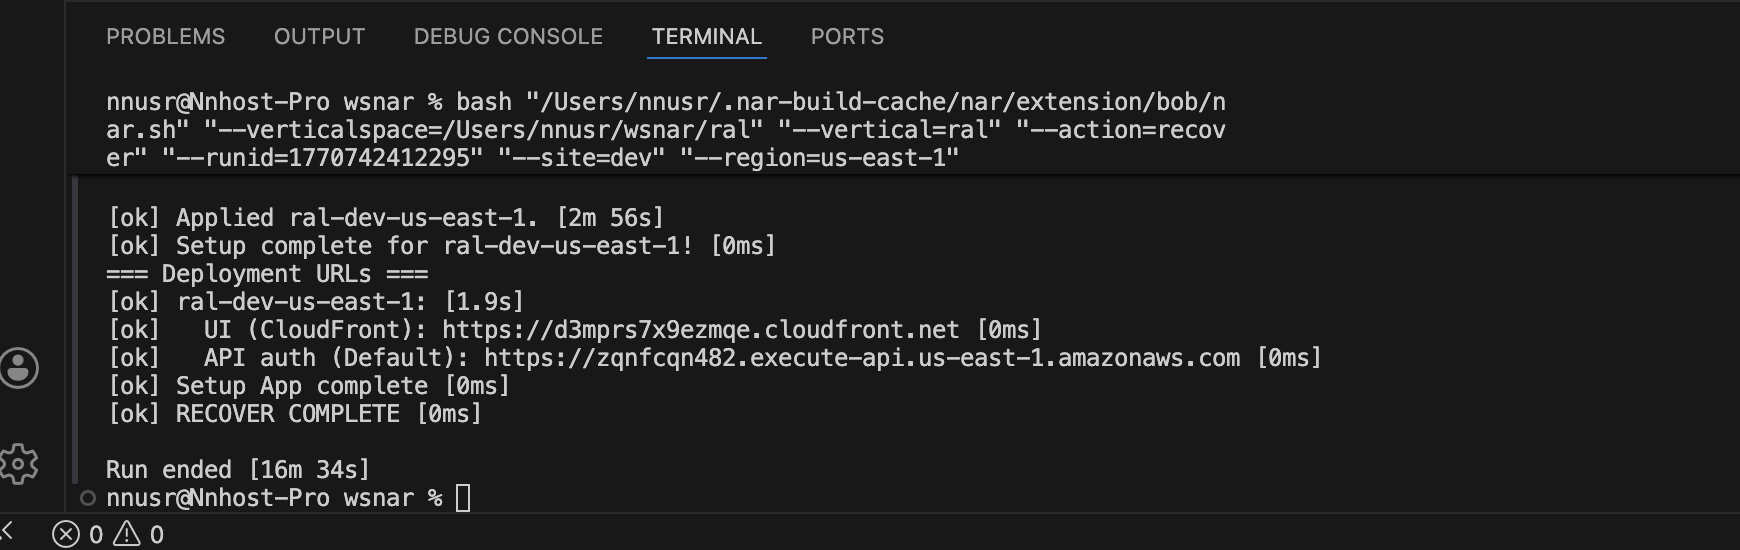
7. Open Your App
Copy the URL from the terminal output and open it in your browser. Your React app is live.
AWS Cost
The React Auth Lambda vertical uses Lambda, API Gateway, CloudFront, and S3 — all covered by the AWS Free Tier for light usage. A dev site with minimal traffic costs almost nothing.
Next Steps
- Configure OAuth — Follow the React Auth Lambda Getting Started guide to set up Google login.
- Custom Domain — Edit
domain.json. - Deploy Changes — After editing code, click Deploy UI or Deploy Service in the UX.